


Introduction
Power BI comes with the powerful formula language Data Analysis Expression (DAX) which allows the implementation of custom calculations. There are numerous operators and functions available in DAX. One essential DAX function is the SWITCH function. The SWITCH function provides an elegant way to handle multiple conditions and is an alternative to multiple nested IF functions. In this tutorial, we will explore the SWITCH function and show you how to use it.
Data
The data for this tutorial comes from an Excel file. In the following tutorial, we explain how to import Data from an Excel file into Power BI:
 Data Analyst
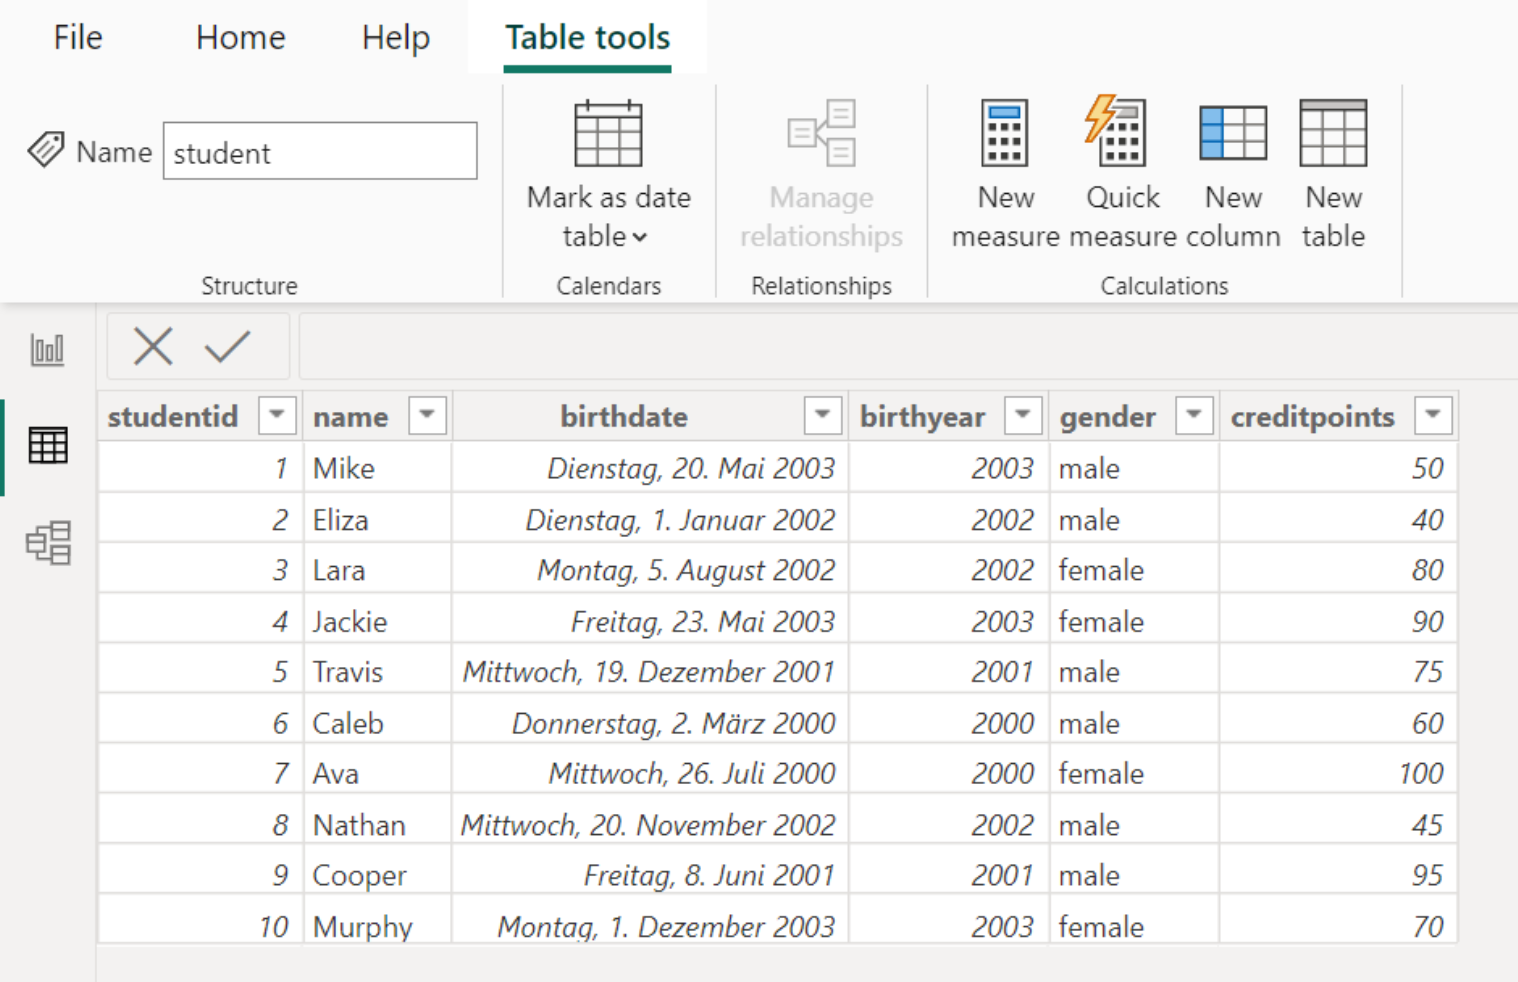
We have loaded the data into Power BI without executing any transformations. The data looks as follows:
Now, let's explore how the DAX function SWITCH works and how to use it.
Syntax
The SWITCH function provides an elegant way to handle multiple conditions and is an alternative to multiple nested IF functions. In particular, it can make the code more readable, especially when dealing with multiple conditions.
The SWITCH function checks an expression against a list of values. For the value that matches the expression, the related result is returned. If no value matches the expression, a default result is returned. The syntax of the SWITCH function looks as follows:
SWITCH(<expression>, <value1>, <result1>, <value2>, <result2>, ..., <default_result>)Let's look at the components in detail:
<expression> |
The expression to be checked. |
<value1> |
The first value that is compared against the expression. |
<result1> |
The corresponding result, if the first value matches the expression. |
<value2> |
The second value that is compared against the expression. |
<result2> |
The corresponding result, if the second value matches the expression. |
<default_result> |
The default result, if no value matches the expression. |
Example
Now, let's perform an example calculation with the SWITCH function. In our example, we want to make a categorization based on the credit points.
One way to solve this task is using multiple nested IF functions. Instead, we want to use the SWITCH function.
There will be the following four classes:
- Excellent: If the credit points are equal to or greater than 90.
- Good: If the credit points are between 70 and 89.
- Average: If the credit points are between 50 and 69.
- Poor: If the credit points are below 50.
To implement this classification logic, we need a SWITCH function with three pairs consisting of value and result. We also need a standard result.
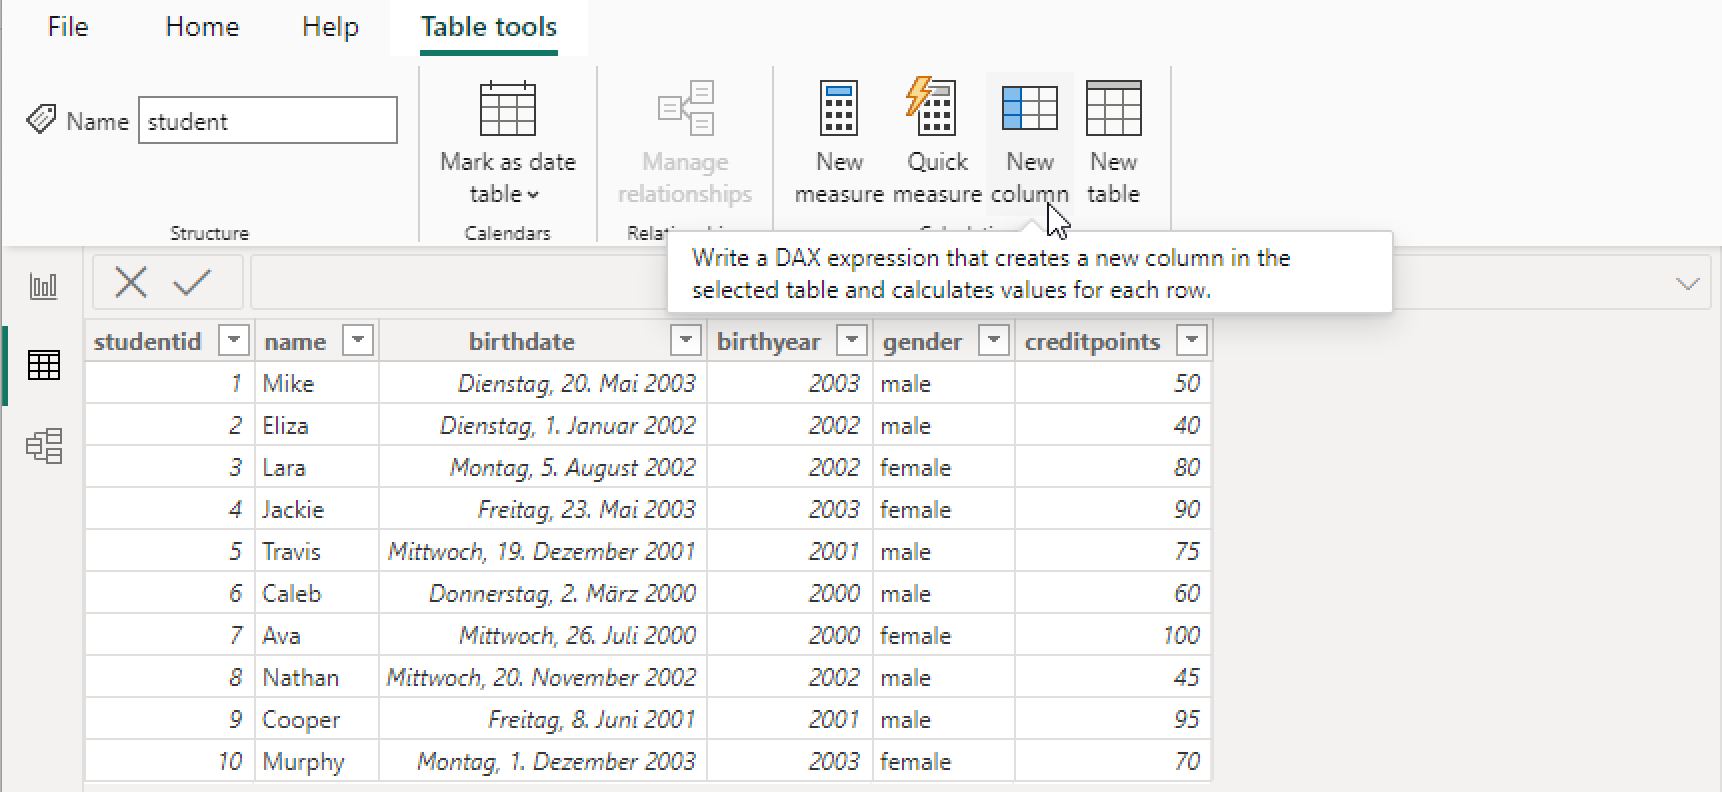
First, we create a new calculated column.
We name the calculated column "PerformanceStatus" and enter the DAX code.
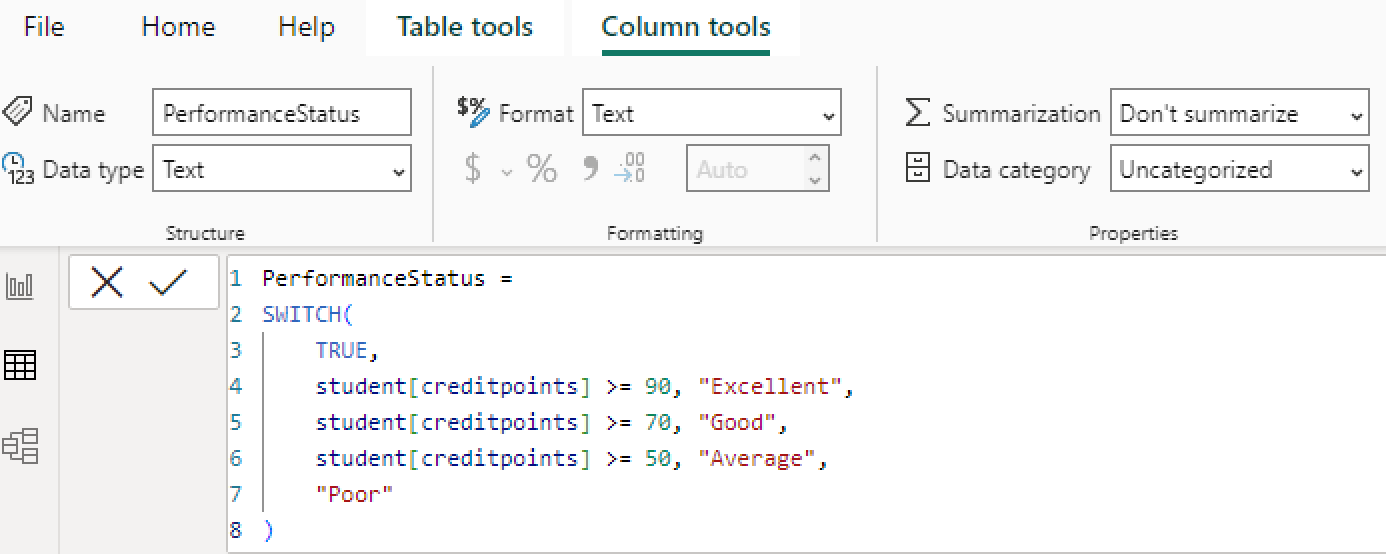
Let's consider the DAX formula in detail:
PerformanceStatus =
SWITCH(
    TRUE,
    student[creditpoints] >= 90, "Excellent",
    student[creditpoints] >= 70, "Good",
    student[creditpoints] >= 50, "Average",
    "Poor"
)
As soon as the calculation is applied, we see the result in the column "PerformanceStatus":
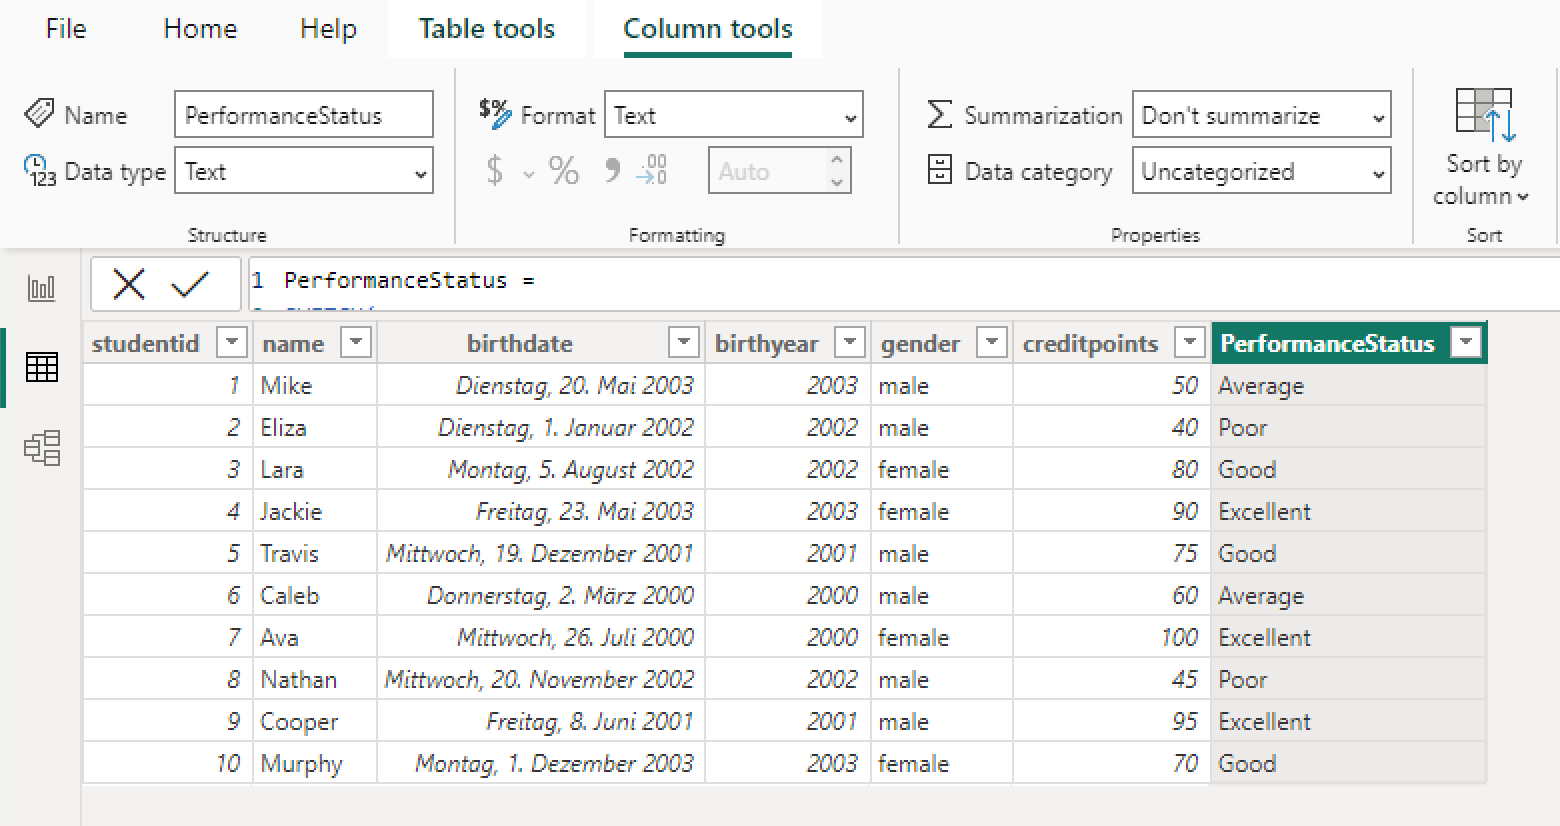
We can see that there is a result for each student.
Conclusion
Congratulations! Now you are one step closer to become an AI Expert. You have learned how the SWITCH function in DAX works and how to use it. You have seen that the SWITCH function provides an elegant way to handle multiple conditions and is an alternative to multiple nested IF functions. Try it yourself!
Also check out our Instagram page. We appreciate your like or comment. Feel free to share this post with your friends.